C语言-求三角形面积
本文共 301 字,大约阅读时间需要 1 分钟。
一、代码
//三角形面积:(海伦公式)(p=(a+b+c)/2)//S=sqrt[p(p-a)(p-b)(p-c)]#include#include void main(){ double a,b,c; double p; double s; scanf("%lf%lf%lf",&a,&b,&c); if((a+b>c)&&(a+c>b)&&(b+c>a)){ p=(a+b+c)/2; s=sqrt(p*(p-a)*(p-b)*(p-c)); printf("%lf",s); } else printf("无法构成三角形"); }
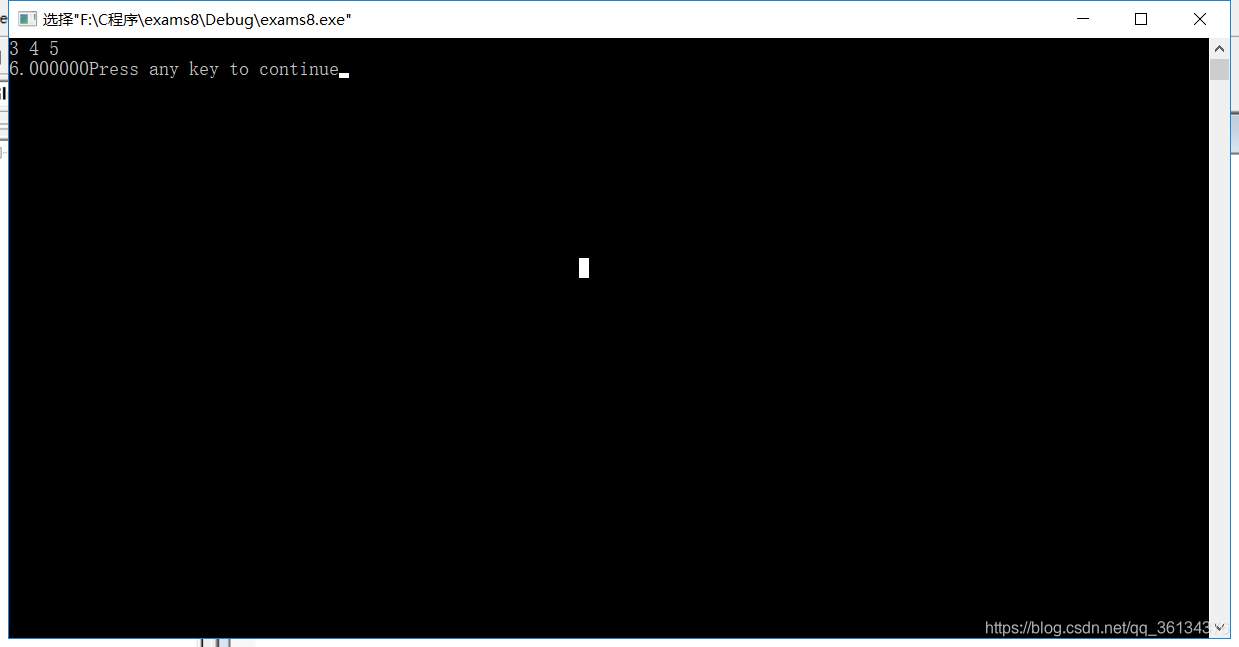
二、结果
转载地址:http://xbch.baihongyu.com/
你可能感兴趣的文章
MS UC 2013-0-Prepare Tool
查看>>
MSBuild 教程(2)
查看>>
msbuild发布web应用程序
查看>>
MSB与LSB
查看>>
MSCRM调用外部JS文件
查看>>
MSCRM调用外部JS文件
查看>>
MSEdgeDriver (Chromium) 不适用于版本 >= 79.0.313 (Canary)
查看>>
MsEdgeTTS开源项目使用教程
查看>>
msf
查看>>
MSSQL数据库查询优化(一)
查看>>
MSSQL数据库迁移到Oracle(二)
查看>>
MSSQL日期格式转换函数(使用CONVERT)
查看>>
MSTP多生成树协议(第二课)
查看>>
MSTP是什么?有哪些专有名词?
查看>>
Mstsc 远程桌面链接 And 网络映射
查看>>
Myeclipse常用快捷键
查看>>
MyEclipse更改项目名web发布名字不改问题
查看>>
MyEclipse用(JDBC)连接SQL出现的问题~
查看>>
mt-datetime-picker type="date" 时间格式 bug
查看>>
myeclipse的新建severlet不见解决方法
查看>>